First Step – Campaign Setup
Go to the menu Campaigns -> Regular Campaigns and click Create Campaigns.
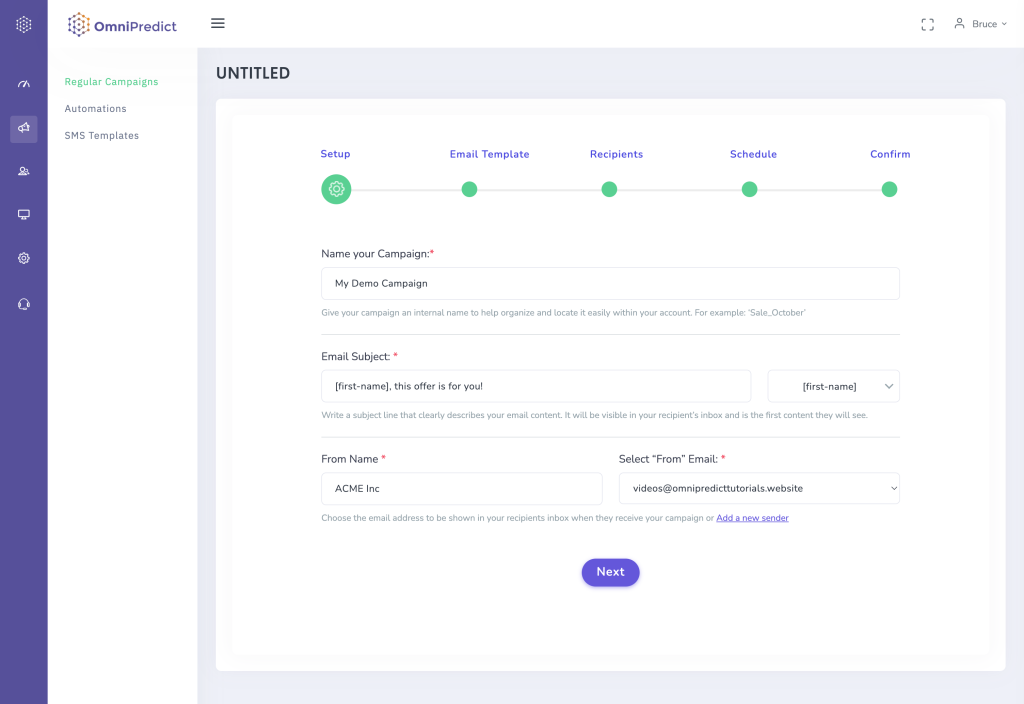
In the first step, you have to complete the below fields:
The Campaign Name: The campaign name helps you organize and recognize your campaigns and is not visible to recipients. For example: “Cyber Monday Deal 2021”
Email Subject: The subject will appear in the recipient’s inbox. You can personalize the subject by using the dropdown menu. By using the First Name option, you can deliver a subject like “John, open this email before midnight.” John is a dynamic variable and will use the name associated with each email contact.
From Name: The subject will appear in the recipient’s inbox. It can be the name of your business, your name etc.
Select “From” email: The email you want to use as the sender.
Second Step – Email Template
In the second step, you can start designing your email or edit an existing one.
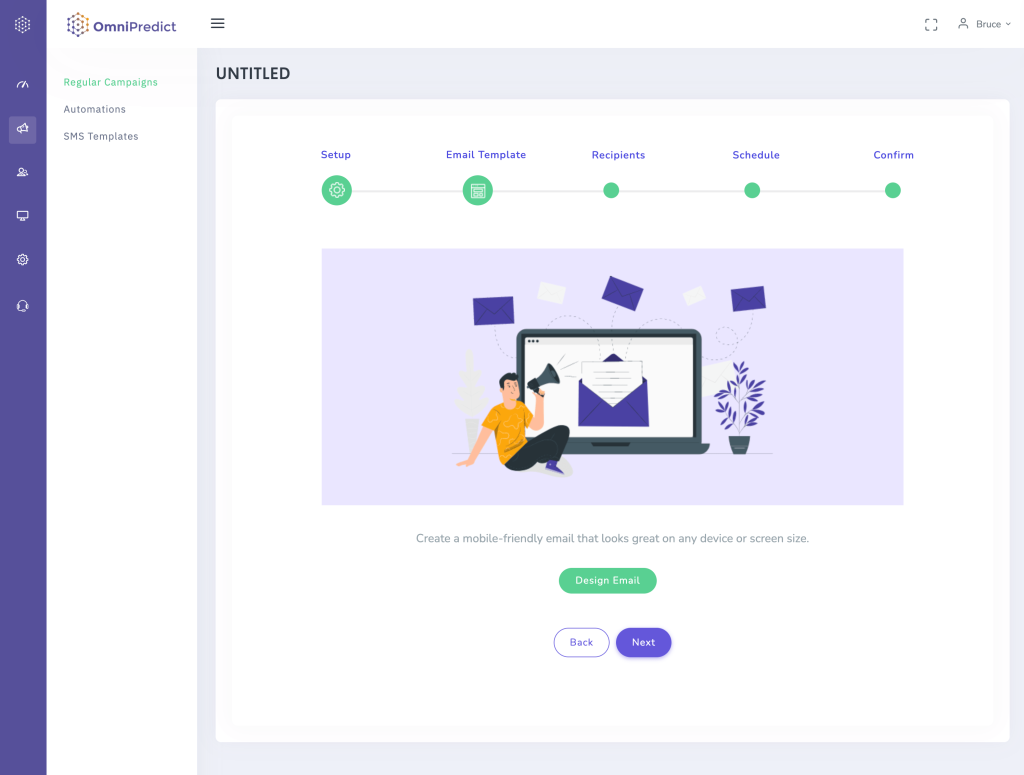
Click the “design email” button to go to the templates page. On the templates page, you have the option to choose between ready-made templates or ready-to-use layouts. Both layouts and templates are fully customizable to your needs. You can make all the changes by using the drag-and-drop email editor.

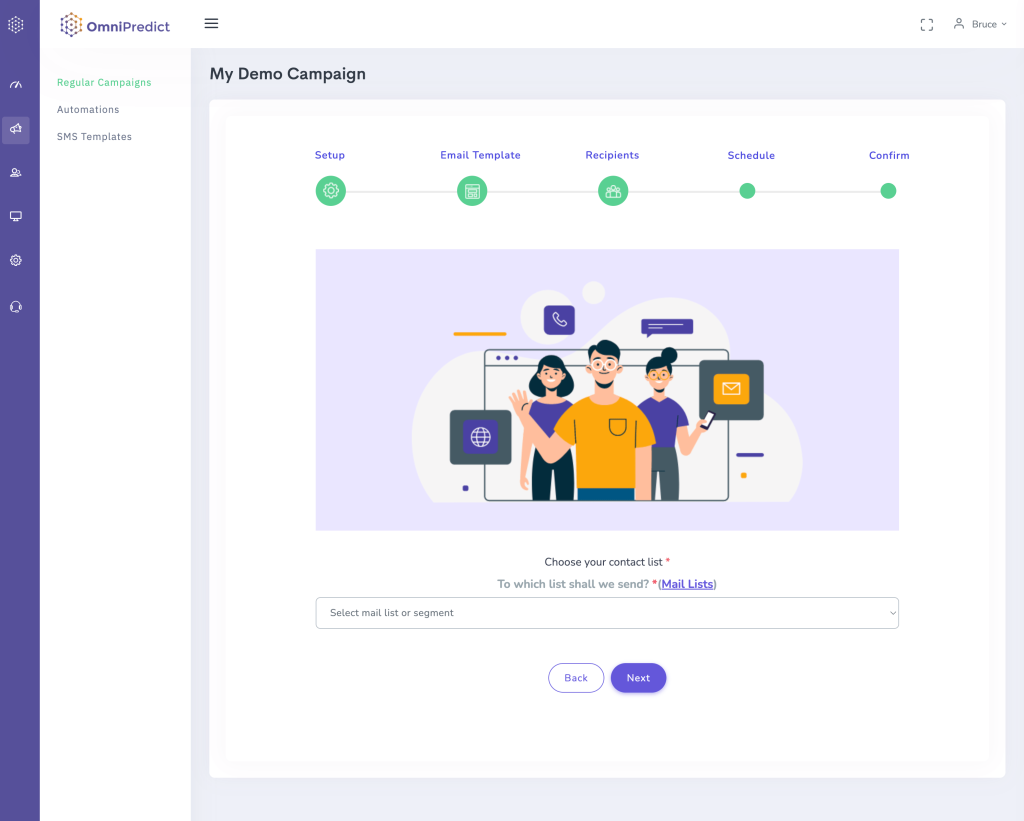
Third Step – Recipients
At this step, you can select the list or segment to use.
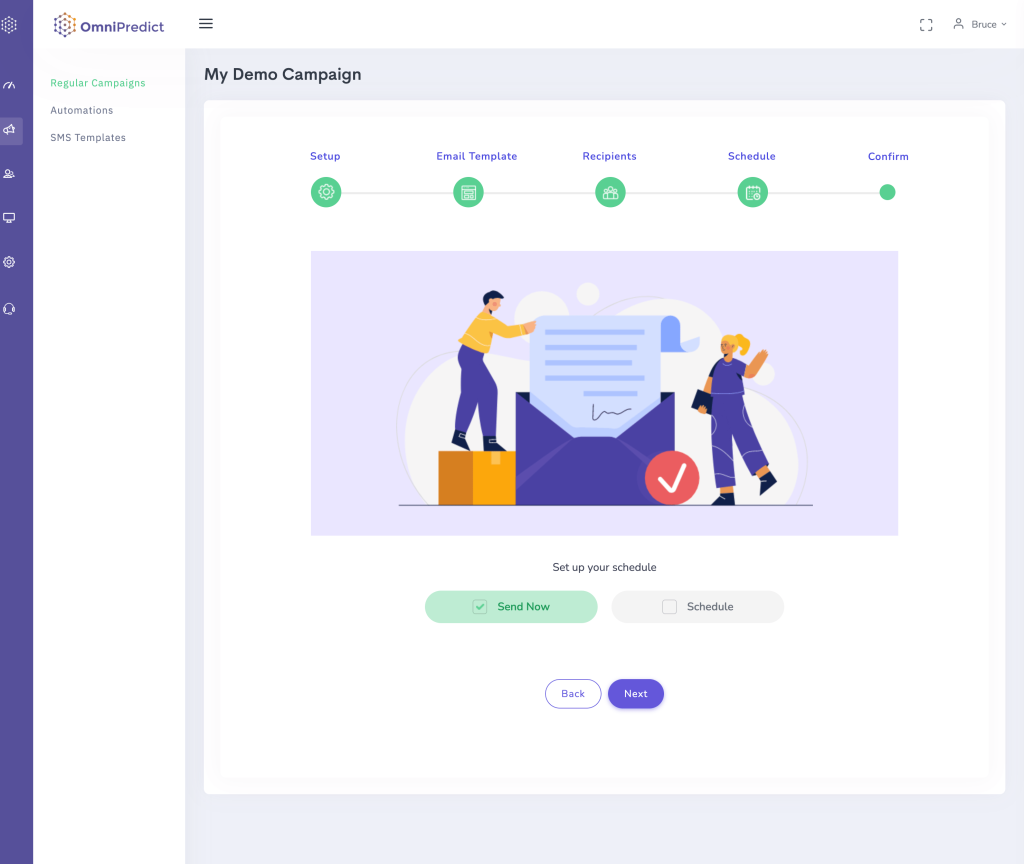
Fourth Step – Schedule
In this step, you can select if you want to send the campaign immediately or if you want to send a future date. You can select the date, time, and time zone you want to use.
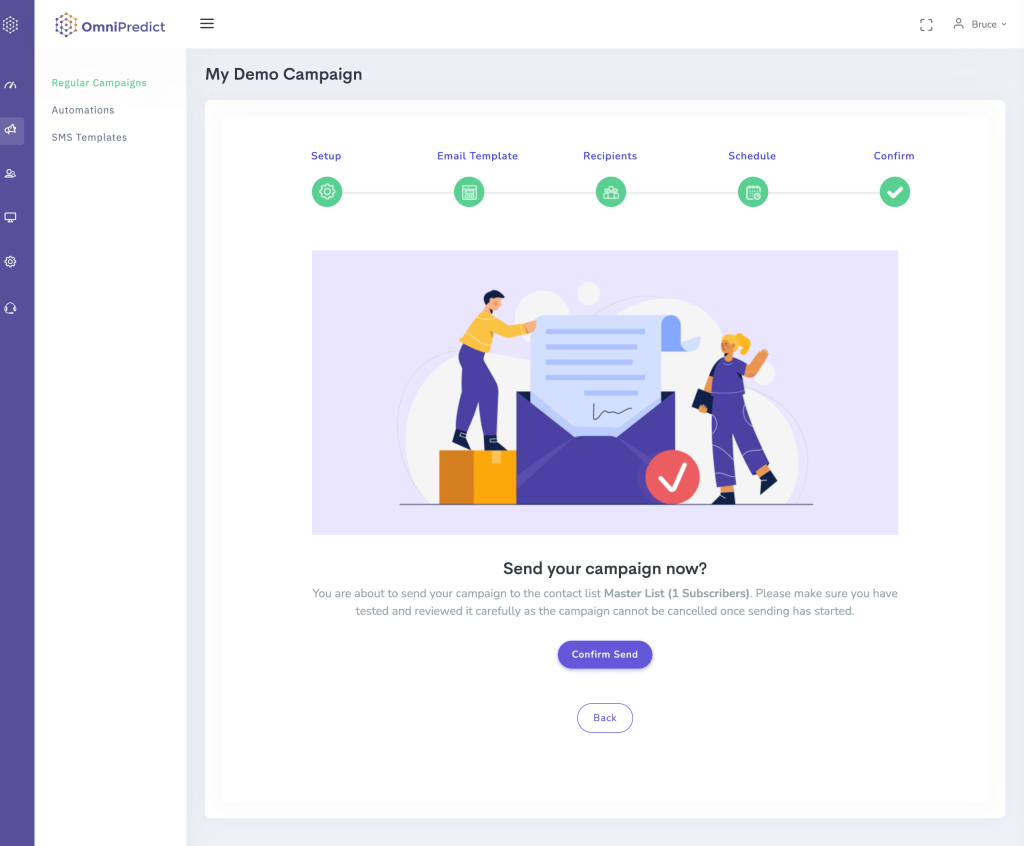
Fifth Step – Confirm
This step is to finalize all the campaign details and confirm the broadcasting. If the campaign sending starts, you cannot stop it.